
The roast beef tenderloin reverse sear is a cooking method. It starts with slow oven roasting to cook the meat evenly. Then, a quick high-heat sear creates a crispy crust.
Want a juicy, tender roast beef tenderloin every time? The reverse sear method is your secret weapon. It’s easy, foolproof, and delivers restaurant-quality results!
This technique uses low heat to cook the tenderloin gently. After, you sear it for a flavorful crust. It’s perfect for holiday dinners or special meals.
What Is the Reverse Sear Method?
The reverse sear is a game-changer for cooking roast beef tenderloin. Unlike traditional methods where you sear the meat first, the reverse sear starts with low-and-slow oven cooking to bring the roast to your desired doneness, followed by a high-heat sear to lock in a crispy, golden crust.
This method is ideal for thick cuts like beef tenderloin because it:
- Promotes even cooking from edge to edge
- Reduces the risk of overcooking the interior
- Enhances flavor with a caramelized crust
I’ve used this technique for years at family gatherings, and it’s always a crowd-pleaser—no more dry or unevenly cooked roasts!
Why Choose Roast Beef Tenderloin?
Beef tenderloin is the star of many holiday feasts and special occasions. This premium cut, also known as the “filet mignon roast,” is prized for its:
- Tenderness: It’s one of the most tender cuts of beef, practically buttery when cooked right.
- Mild flavor: Its subtle taste pairs well with bold seasonings or sauces.
- Versatility: Perfect for slicing into medallions or serving whole as a showstopping centerpiece.
However, its leanness means it can dry out if not cooked properly—making the reverse sear method a perfect match.

Choosing the Right Beef Tenderloin
Before you start, picking a high-quality tenderloin is key. Here’s what to look for:
- Grade: Choose USDA Choice or Prime for the best flavor and tenderness. Prime is richer in marbling, but Choice is a great budget option.
- Size: A whole tenderloin (4–5 pounds) serves 8–10 people. For smaller gatherings, opt for a center-cut tenderloin (2–3 pounds).
- Trim: Look for a tenderloin that’s already trimmed of excess fat and silverskin, or ask your butcher to do it. Silverskin can make the meat chewy.
Pro Tip: If buying from a butcher, ask for a “PSMO” (peeled, side muscle off) tenderloin for minimal prep work.
Ingredients for Roast Beef Tenderloin Reverse Sear
Here’s what you’ll need for a 4-pound tenderloin:
- 1 (4–5 lb) beef tenderloin, trimmed and tied
- 2 tbsp olive oil or avocado oil
- 2 tbsp kosher salt
- 1 tbsp freshly ground black pepper
- 1 tbsp garlic powder (optional)
- 2 tsp dried thyme or rosemary (or fresh herbs, finely chopped)
- 2 tbsp unsalted butter (for searing)
Optional Sauce Ideas:
- Red wine reduction
- Creamy horseradish sauce
- Garlic herb butter
Step-by-Step: How to Reverse Sear Roast Beef Tenderloin
Follow these steps for a perfectly cooked roast beef tenderloin every time.
Step 1: Prep the Tenderloin
- Tie it up: Use kitchen twine to tie the tenderloin every 2 inches. This ensures even cooking and a uniform shape.
- Season generously: Pat the tenderloin dry with paper towels. Rub with olive oil, then season all sides with salt, pepper, garlic powder, and herbs.
- Let it rest: Allow the seasoned tenderloin to sit at room temperature for 30–60 minutes. This reduces cooking time and promotes even cooking.
Why It Works: Bringing the meat to room temp prevents a cold center, which can lead to uneven doneness.
Step 2: Low-and-Slow Oven Cooking
- Preheat your oven to 250°F (120°C).
- Place the tenderloin on a wire rack set over a baking sheet. This allows air to circulate for even cooking.
- Insert a meat thermometer into the thickest part of the roast.
- Cook until the internal temperature reaches:
- Rare: 115–120°F (46–49°C)
- Medium-rare: 120–125°F (49–52°C)
- Medium: 130–135°F (54–57°C)
- This typically takes 1.5–2 hours for a 4-pound tenderloin.
Pro Tip: Use an oven-safe probe thermometer for real-time monitoring without opening the oven door.
Step 3: Rest the Meat
- Remove the tenderloin from the oven when it’s 5–10°F below your target temperature (it will rise during searing).
- Tent loosely with foil and let it rest for 15 minutes. This redistributes juices for maximum tenderness.
Step 4: Sear for the Perfect Crust
- Heat a large cast-iron skillet or heavy-bottomed pan over high heat. Add 2 tbsp butter and a splash of oil to prevent burning.
- Once the pan is smoking hot, sear the tenderloin for 1–2 minutes per side, including the ends, until a deep golden-brown crust forms.
- Optionally, baste with the pan juices for extra flavor.
Alternative: Sear on a hot grill for a smoky twist, about 1 minute per side.
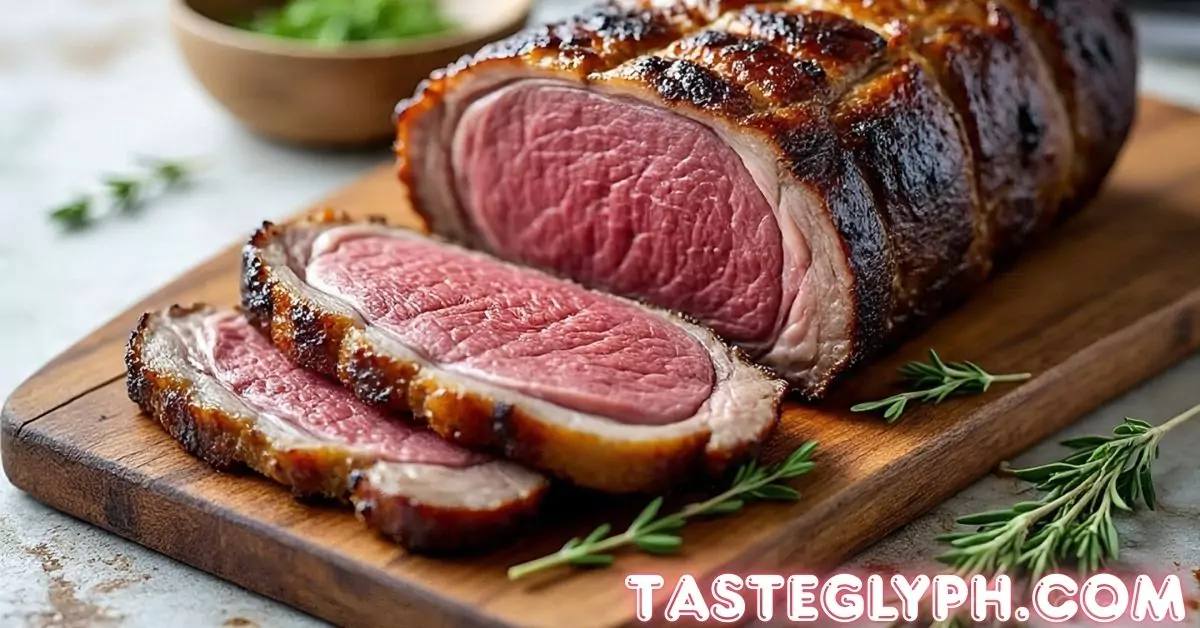
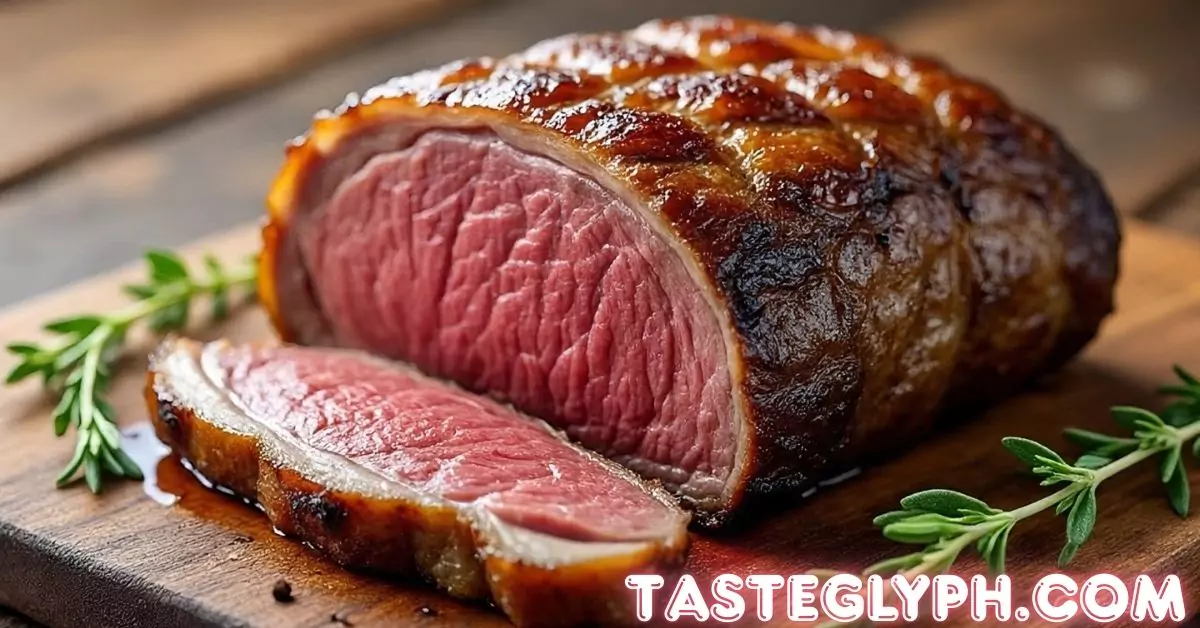
Step 5: Slice and Serve
- Let the tenderloin rest for another 5–10 minutes after searing.
- Slice into ½-inch thick medallions and serve with your favorite sauce or side dishes.
Serving Suggestion: Pair with roasted vegetables, mashed potatoes, or a fresh arugula salad for a balanced meal.
Common Mistakes to Avoid
Even with a straightforward method like reverse sear, pitfalls can happen. Here’s how to steer clear:
- Skipping the thermometer: Guessing doneness can lead to overcooking. Always use a meat thermometer.
- Searing too early: If the pan isn’t hot enough, you’ll miss the crispy crust. Wait for it to smoke!
- Not resting the meat: Cutting too soon causes juices to spill out, leaving the roast dry.
- Over-seasoning: Beef tenderloin has a delicate flavor—keep seasonings simple to let it shine.
Expert Tips for the Best Roast Beef Tenderloin
- Dry brine for flavor: For even more juiciness, season the tenderloin with salt and refrigerate uncovered for 12–24 hours before cooking.
- Use a cast-iron skillet: It retains heat better than other pans, giving you a superior sear.
- Experiment with flavors: Try a coffee rub or smoked paprika for a unique twist.
- Save the drippings: Use the pan juices to make a quick sauce or gravy.
Last Christmas, I prepped a 5-pound tenderloin using the reverse sear method. My guests raved about the juicy, medium-rare slices with a perfectly crispy crust. The dry brine and a simple rosemary-garlic rub made all the difference!
Pairing Suggestions for Roast Beef Tenderloin
To elevate your meal, consider these pairings:
- Sides:
- Creamy mashed potatoes with garlic
- Grilled asparagus with lemon zest
- Wild mushroom risotto
- Sauces:
- Classic béarnaise for richness
- Chimichurri for a fresh, herbaceous kick
- Peppercorn sauce for spice lovers
- Wines:
- Cabernet Sauvignon for bold, red-meat pairing
- Pinot Noir for a lighter, elegant match
FAQs
Which cooking method is best for beef tenderloin?
The reverse sear method is best—slow roast at 250°F, then sear for a juicy interior and crispy crust.
How long to roast a tenderloin of beef?
A 4-pound tenderloin takes 1.5–2 hours at 250°F to reach medium-rare (120–125°F), plus 5–10 minutes for searing.
What is the best way to cook a beef tenderloin to preserve its tenderness?
Reverse sear preserves tenderness by cooking low and slow, then searing to lock in juices.
Should I marinate beef tenderloin roast?
Marinating isn’t necessary; a simple salt and pepper rub enhances its natural flavor. Dry brining overnight can boost juiciness.
What are some common beef tenderloin mistakes?
Overcooking, not using a thermometer, skipping the rest period, or leaving silverskin on can ruin tenderness and flavor.
Final Thoughts
The roast beef tenderloin reverse sear method is your ticket to a restaurant-quality meal at home. With its tender, juicy interior and flavorful crust, this technique takes the guesswork out of cooking a premium cut. Whether it’s a holiday feast or a special dinner, you’ll impress your guests with minimal effort.
Try this recipe for your next gathering, and don’t forget to pair it with a bold sauce or your favorite sides. Have a favorite tenderloin tip or sauce recipe? Share it in the comments or check out our guide on perfect pan sauces for more inspiration!