
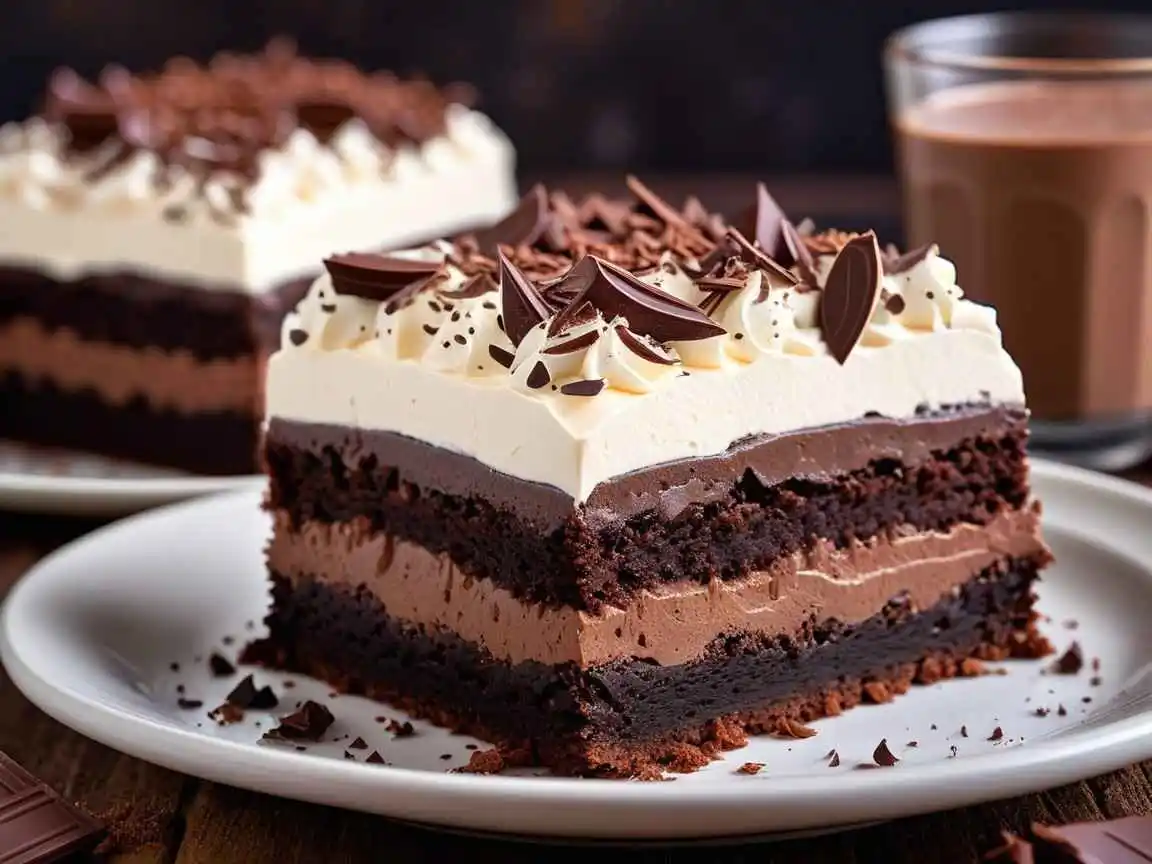
A brownie refrigerator cake is a no-bake dessert made with soft brownies, creamy layers, and sweet toppings. It is kept in the fridge to set and become cold. This cake is simple to make and very tasty.
Want a dessert that’s quick, easy, and looks amazing? This brownie refrigerator cake is perfect for you. No oven needed, just chill and enjoy!
Brownie refrigerator cake is great for parties, family dinners, or a sweet treat anytime. You can add fruits, nuts, or chocolate to make it special. It’s a fun and delicious dessert everyone will love.
Why You’ll Love This Brownie Refrigerator Cake
- No-Bake & Fuss-Free: Perfect for hot days when you want dessert without heating up the kitchen.
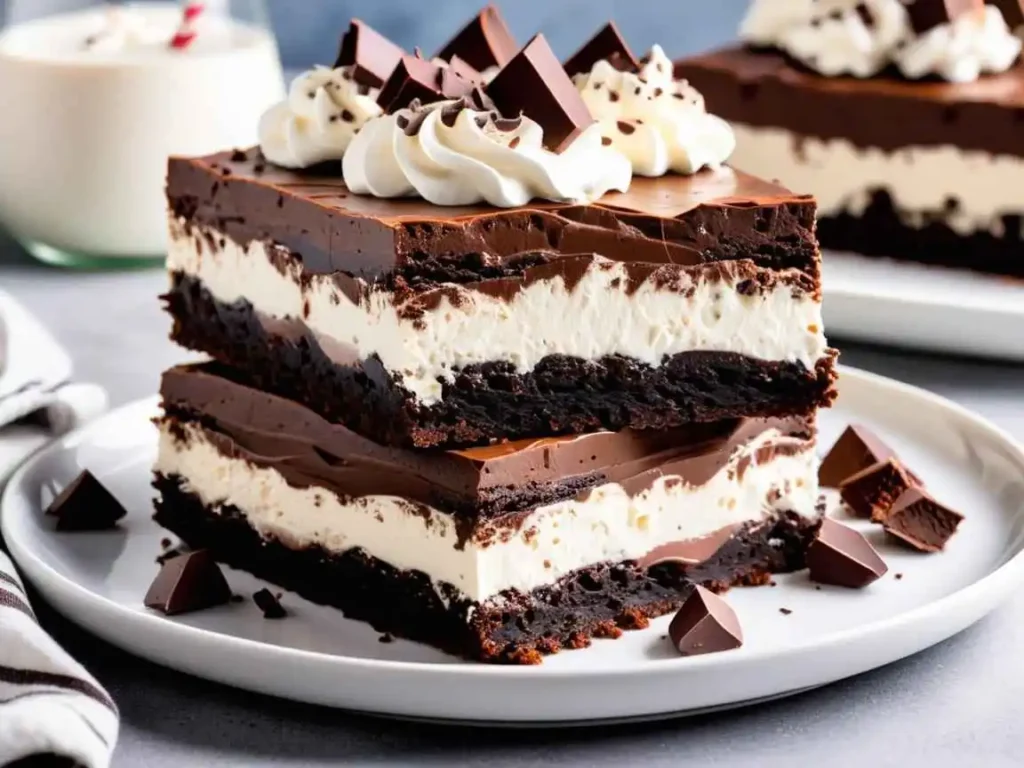
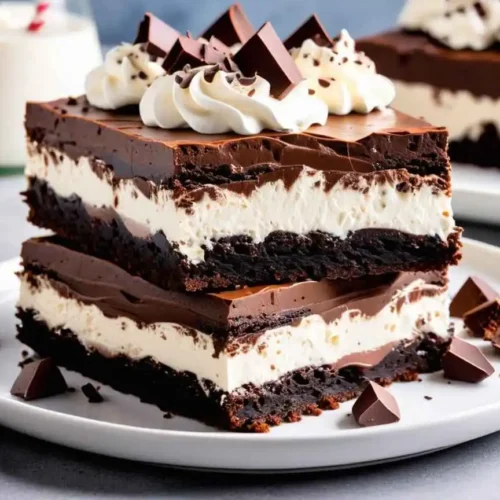
- Layered Chocolate Heaven: Every bite is a balance of chewy brownie, creamy filling, and velvety toppings.
- Make-Ahead Friendly: Prepares in advance and chills beautifully in the fridge.
- Customizable: Add nuts, fruits, or drizzle with caramel for your signature twist.
Essential Equipment
- 9×13 inch baking dish
- Mixing bowls
- Hand mixer or stand mixer
- Spatula
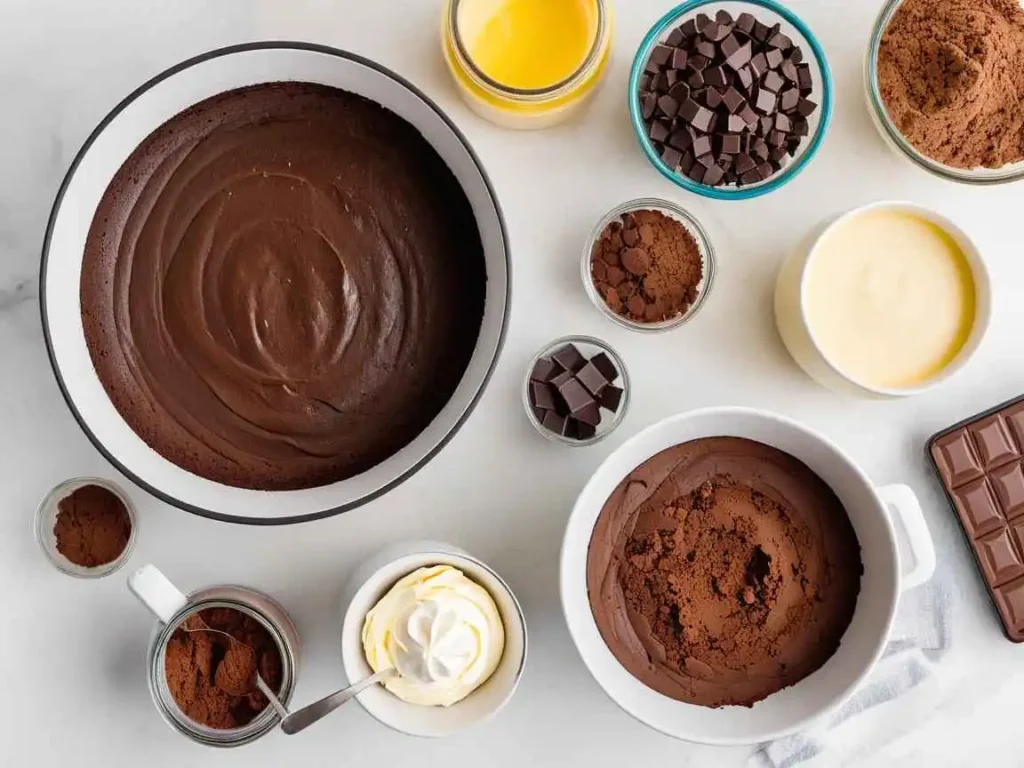
Ingredients You’ll Need for Brownie Refrigerator Cake
To create the perfect Brownie Refrigerator Cake, gather these essential ingredients:
For the Brownie Layer:
- 1 box of brownie mix (or homemade brownies)
- Ingredients as per the brownie mix instructions (usually eggs, oil, water)
For the Creamy Filling:
- 2 cups heavy whipping cream
- 1 cup cream cheese, softened
- 1 cup powdered sugar
- 1 teaspoon vanilla extract
For the Chocolate Ganache Topping:
- 1 cup semi-sweet chocolate chips
- ½ cup heavy cream
Optional Toppings:
- Crushed Oreo cookies
- Chopped pecans or walnuts
- Fresh strawberries or raspberries
- A drizzle of caramel sauce
Step-by-Step Instructions to Make Brownie Refrigerator Cake
Step 1: Bake and Cool the Brownies
Prepare the brownie mix according to the package instructions. Bake in a 9×13 inch pan until just set, ensuring the brownies are fudgy and moist. Allow them to cool completely. For an ultra-rich taste, under bake slightly to keep the brownies gooey.
Step 2: Prepare the Creamy Layer
In a large mixing bowl, beat the cream cheese until smooth and fluffy. Gradually add powdered sugar and vanilla extract, beating until combined. In a separate bowl, whip the heavy cream until stiff peaks form. Gently fold the whipped cream into the cream cheese mixture to create a light and airy filling.
Step 3: Assemble the Cake Layers
Once the brownies are completely cooled, spread the creamy filling evenly over the brownie base. Smooth the top using a spatula to ensure a perfect, even layer.
Step 4: Make the Chocolate Ganache
In a microwave-safe bowl, combine chocolate chips and heavy cream. Microwave in 20-second intervals, stirring between each, until smooth and glossy. Let it cool slightly to thicken for easier spreading.
Step 5: Top and Decorate
Pour the rich ganache over the creamy layer, spreading it gently with a spatula. Add your favorite toppings like crushed Oreos, chopped nuts, or a drizzle of caramel sauce for added decadence.
Step 6: Refrigerate and Chill
Cover the assembled cake with plastic wrap or foil and refrigerate for at least 4 hours, preferably overnight. This allows the layers to set beautifully, resulting in clean, gorgeous slices.
Chilling and Setting in the Refrigerator
- Place the assembled cake in the refrigerator for at least 3 to 4 hours.
- For best results, let it chill overnight.
- This gives enough time for all the flavors to blend together.
- The longer it chills, the better the texture and taste will be.
Pro Tips for a Perfect Brownie Refrigerator Cake
- To get a soft and moist cake, brush the brownie layer with a little coffee syrup or chocolate milk.
- This will keep the brownies from drying out.
- If you want a firmer texture, use mascarpone cheese instead of regular cream.
- Always use fresh cream and high-quality chocolate to get the best taste.
- Another important tip is to cover the cake with plastic wrap while chilling to prevent it from absorbing any fridge odors.
- When serving, cut the cake with a warm knife to get clean slices.
Easy Desserts to Try Next:
3 Ingredient Blueberry Cobbler
Salted Caramel Cheesecake Cookies
Variations You Can Try (Peanut Butter, Berries, More)
- One of the best things about brownie refrigerator cake is that you can get creative with flavors.
- Love peanut butter? Add a layer of peanut butter mousse between the brownies.
- Want a fruity twist? Layer the cake with fresh strawberries or blueberries.
- For a crunchy texture, sprinkle crushed Oreos or chopped nuts on top.
- You can also drizzle caramel sauce or hot fudge to make it extra indulgent.
- The possibilities are endless, and you can make a new version every time you bake it.
Common Mistakes to Avoid
- Many people make the mistake of not chilling the cake long enough.
- This dessert needs time to set, so don’t rush it.
- Another common mistake is using dry brownies.
- Always ensure the brownies are moist and chewy; otherwise, the cake will feel dense and hard.
- Avoid using low-fat cream as it can make the layers watery.
- Be careful not to overmix the cream, or it will lose its fluffy texture.
- Finally, don’t overload with too many toppings, as it can make the cake heavy and messy.
Nutritional Breakdown (Per Serving)
Here’s a simple table to show the nutritional information for one serving of brownie refrigerator cake:
| Nutrient | Amount |
| Calories | 350 kcal |
| Carbohydrates | 30g |
| Protein | 4g |
| Fats | 22g |
| Sugars | 20g |
| Fiber | 2g |
Storage and Shelf Life
- The brownie refrigerator cake is best kept in an airtight container in the fridge.
- It can last for up to 3 to 4 days without losing its texture.
- If you want to store it for longer, you can freeze it.
- Wrap the cake tightly with plastic wrap and place it in the freezer.
- When ready to eat, thaw it in the fridge overnight.
- However, freezing might change the texture slightly, so it’s best enjoyed fresh.
Brownie Refrigerator Cake for Parties and Special Occasions
- This cake is a showstopper for parties, family gatherings, and celebrations.
- You can make it in a large tray and cut it into neat squares for serving.
- Decorate the top with colorful sprinkles, edible flowers, or chocolate curls to make it party-ready.
- Since it’s a no-bake dessert, you can prepare it a day in advance and save yourself the last-minute stress.
- Everyone will love its rich taste and creamy layers, making it a favorite on the dessert table.

FAQs
Can I use store-bought brownies?
- Yes, you can.
- Store-bought brownies work perfectly fine for this recipe.
- Just make sure they are moist and fresh.
How long should I refrigerate it?
- It’s best to refrigerate the cake for at least 4 hours.
- If you have time, letting it chill overnight gives even better results.
Can I freeze the brownie refrigerator cake?
- Yes, you can freeze it.
- Wrap it well with plastic wrap and foil.
- When you want to serve, let it thaw in the fridge overnight.
What type of cream is best?
- Heavy whipping cream is the best choice because it holds its shape and gives a rich texture.
- You can also use mascarpone for a thicker layer.
Can I make this cake gluten-free?
- Absolutely.
- Just use gluten-free brownies and check that your toppings are gluten-free too.
How do I prevent the cake from becoming soggy?
- Brush the brownie layer with a little syrup, but don’t soak it.
- Also, make sure the cream layer isn’t too runny.
Conclusion:
The brownie refrigerator cake is a simple yet delicious dessert that anyone can make. With soft brownies, creamy layers, and fun toppings, it’s perfect for parties, family dinners, or a quick sweet treat. You don’t need an oven—just layer, chill, and enjoy. It’s easy to customize with your favorite flavors like fruits, nuts, or caramel.
Next time you want a dessert that’s effortless but looks amazing, this no-bake cake is your answer. It’s rich, creamy, and always a crowd-pleaser!
Brownie Refrigerator Cake
Ingredients
- 1 box brownie mix plus ingredients listed on the box
- 1 cup heavy whipping cream
- 1/2 cup powdered sugar
- 1 teaspoon vanilla extract
- 1 cup chocolate chips semi-sweet or milk chocolate
- 1/2 cup crushed digestive biscuits or graham crackers
- 1/2 cup chopped nuts optional
- Chocolate syrup for drizzling optional
Instructions
- Prepare and bake the brownies according to the package instructions. Let them cool completely.
- While the brownies are cooling, whip the heavy cream with powdered sugar and vanilla extract until stiff peaks form. Set aside.
- In a microwave-safe bowl, melt the chocolate chips in 30-second intervals until smooth. Let it cool slightly.
- Cut the cooled brownies into small cubes.
- In a glass dish or loaf pan, start layering: first, a layer of brownie cubes, then spread a layer of whipped cream, drizzle some melted chocolate, and sprinkle crushed biscuits.
- Repeat the layers until all ingredients are used, ending with a whipped cream layer on top.
- Drizzle chocolate syrup over the top and garnish with chopped nuts if desired.
- Refrigerate the cake for at least 4 hours or overnight for best results.
- Slice and serve chilled