


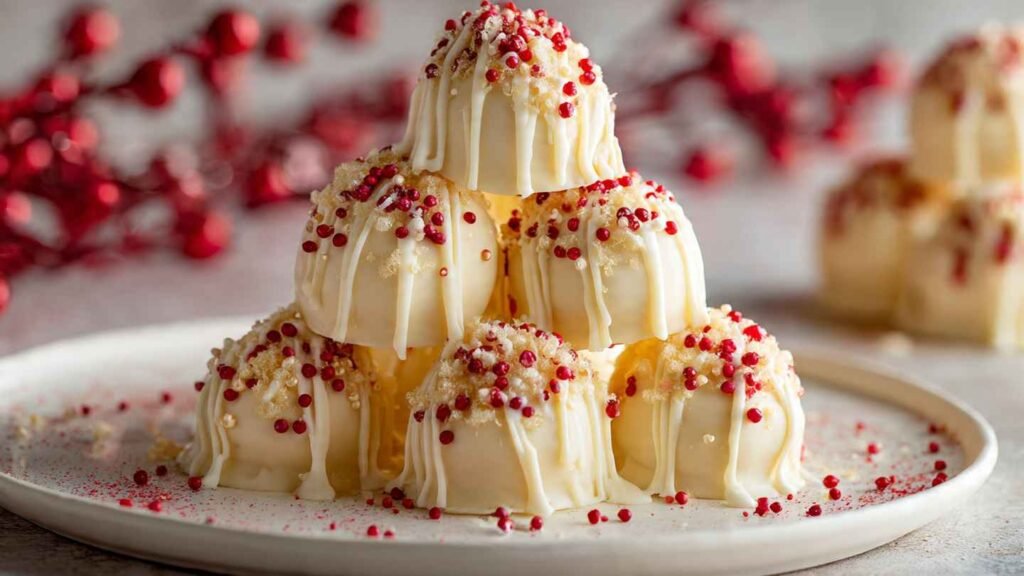
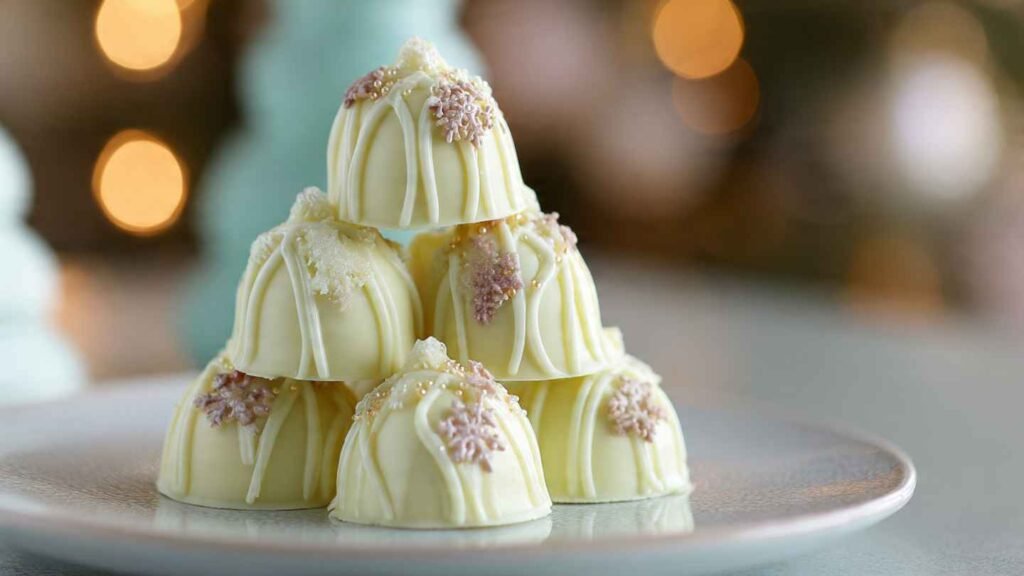
Make your holidays unforgettable with Little Debbie Christmas Tree Cake Truffles, the ultimate no-bake dessert that combines creamy, indulgent flavor with festive charm.
These truffles take your favorite Christmas Tree Cakes and transform them into bite-sized delights coated in smooth white chocolate and sprinkled with vibrant holiday colors.
Perfect for family gatherings, holiday parties, or gift-giving, this recipe is easy to follow, produces consistently delicious results, and will have everyone asking for seconds.
Follow our step-by-step guide to create a dessert that’s not only visually stunning but irresistibly delicious—the kind of treat that becomes the star of your holiday table.

Why This Dessert Is a Holiday Favorite
There’s a reason this recipe explodes on Pinterest and social media every December. It hits all the right notes:
-
Nostalgia: Christmas Tree Cakes instantly transport people back to childhood.
-
Convenience: No oven, no mixer, no stress.
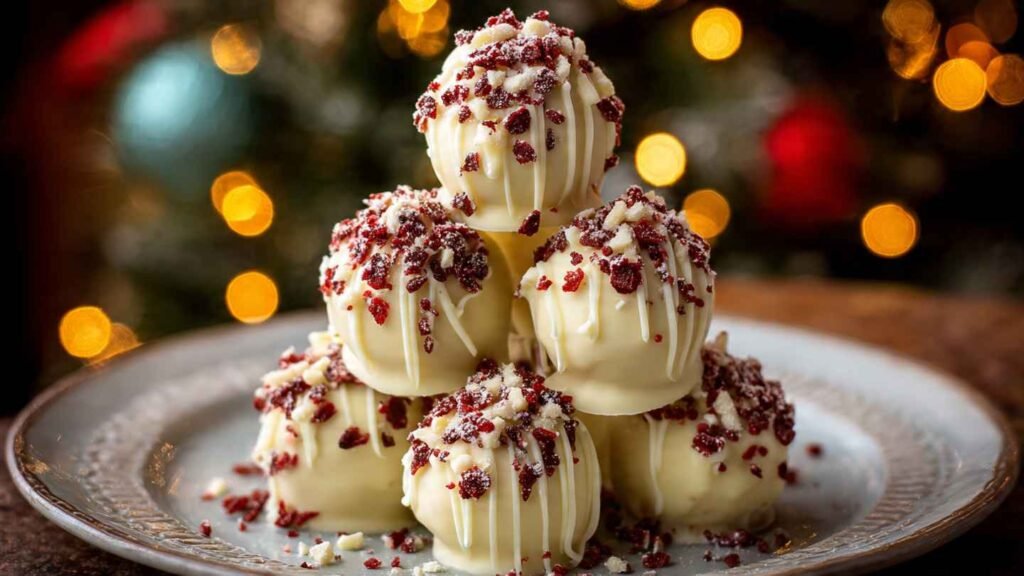
-
Visual appeal: Bright white chocolate, festive sprinkles, and truffle perfection.
-
Crowd-pleasing flavor: Sweet, creamy, and rich without being overwhelming.
It’s like turning a childhood memory into a party-ready dessert.
What Makes No-Bake Desserts So Popular
Let’s be honest—December is busy. Between shopping, decorating, and hosting, nobody wants to babysit an oven. No-bake desserts are popular because they work with your schedule, not against it.
They’re faster, more forgiving, and often more consistent than baked treats. Plus, no-bake recipes like these truffles are perfect for warm kitchens, small apartments, or anyone who just wants guaranteed success.
What Are Little Debbie Christmas Tree Cakes?
A Short History of the Iconic Snack
Little Debbie introduced Christmas Tree Cakes decades ago, and they’ve become a seasonal legend ever since. Soft vanilla cake, creamy filling, white coating, and festive sprinkles—it’s a simple formula that just works.
They’re only available for a limited time each year, which makes them even more special. When something is seasonal, people don’t just like it—they crave it.
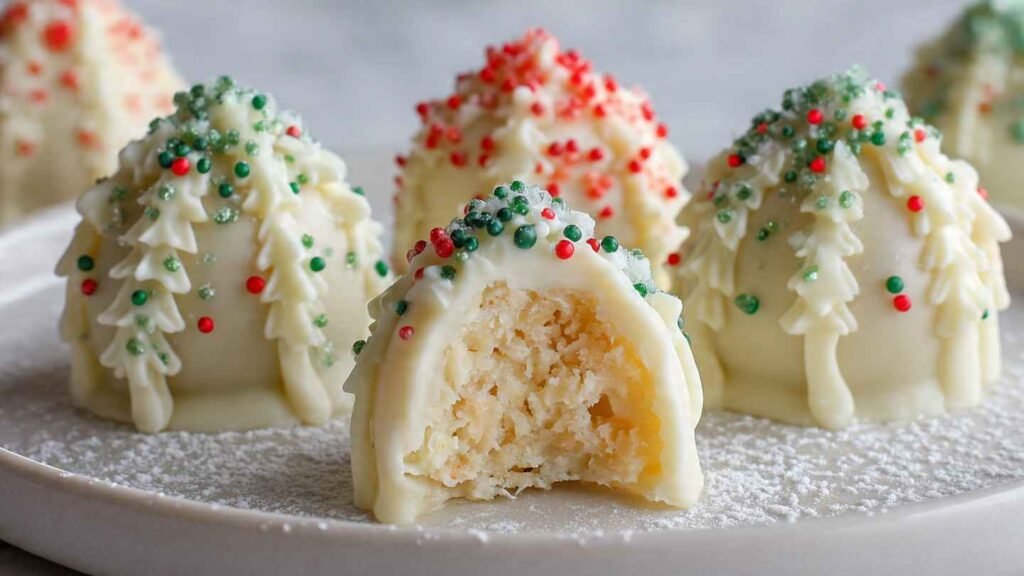
Why They’re Perfect for Truffles
These cakes are basically pre-made truffle filling. They’re already moist, sweet, and filled with cream, which means you don’t need a long ingredient list or complicated steps. Once combined with cream cheese, they transform into a smooth, rollable mixture that holds its shape beautifully.
Why You’ll Love These No-Bake Truffles
Quick, Easy, and Foolproof
This is one of those recipes that works even when you eyeball measurements a little. No baking science. No rising or sinking. Just mix, roll, chill, and dip.
Perfect for Parties, Gifting, and Gatherings
Because they’re small and portable, truffles are ideal for:
-
Holiday dessert platters
-
Cookie exchanges
-
Office parties
-
Homemade Christmas gifts
They look fancy, but they’re secretly effortless. That’s the sweet spot.
Ingredients Breakdown
Main Ingredients You’ll Need
-
10 Little Debbie Christmas Tree Cakes (unwrapped)
The star of the recipe. These provide the cake and filling base. -
4 oz cream cheese, softened
Adds structure and creaminess, turning crumbs into truffle perfection. -
12 oz white chocolate or milk chocolate (for coating)
White chocolate keeps the holiday look classic, but milk or dark chocolate works too.
Optional Add-Ins and Variations
-
Crushed peppermint candies for crunch
-
Holiday sprinkles for color
-
½ teaspoon vanilla extract for extra depth
-
Gel food coloring for decorative drizzle
Kitchen Tools Required
Basic Tools You Already Have
You don’t need any specialty equipment:
-
Large mixing bowl
-
Fork or food processor
-
Baking sheet
-
Parchment paper
-
Microwave-safe bowl or double boiler
Minimal tools. Maximum reward.
Step-by-Step Instructions
Preparing the Cake Base
Unwrap all Christmas Tree Cakes and place them in a large bowl. Use a fork or your hands to mash them until no large chunks remain. The mixture should look like moist cake crumbs.
Add the softened cream cheese and mix until fully combined. The texture should be smooth, thick, and slightly sticky.
Shaping the Truffles
Scoop about 1 tablespoon of mixture and roll it into a ball. Place each ball onto a parchment-lined baking sheet. Repeat until all mixture is used.
Chilling for Perfect Texture
Refrigerate the truffles for at least 30 minutes. This step is essential—it firms them up and makes dipping much easier.
Coating and Decorating the Truffles
Chocolate Coating Options
Melt your chocolate slowly, either in the microwave (30-second intervals) or over a double boiler. Dip each chilled truffle into the melted chocolate, letting excess drip off before placing it back on the parchment.
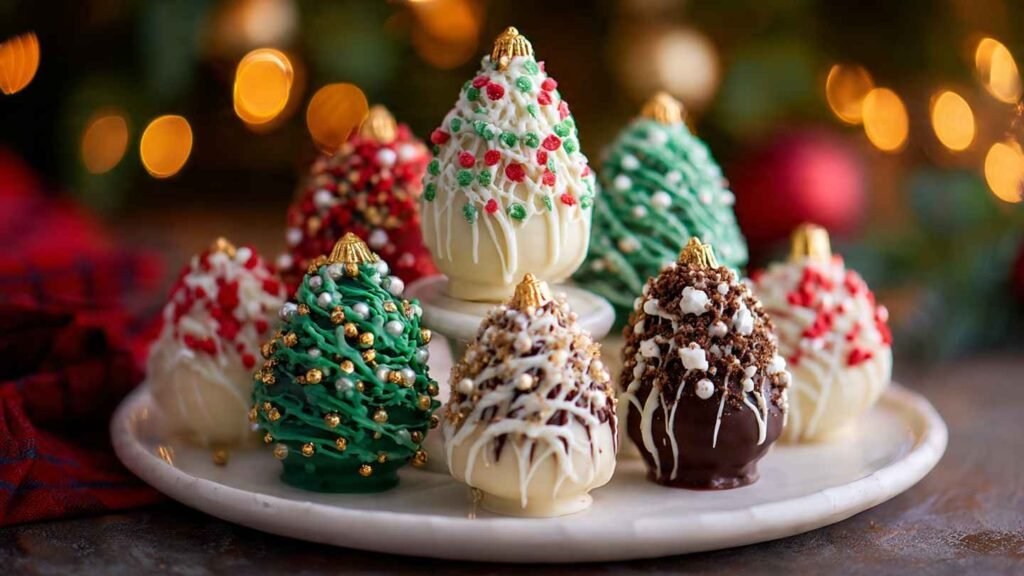
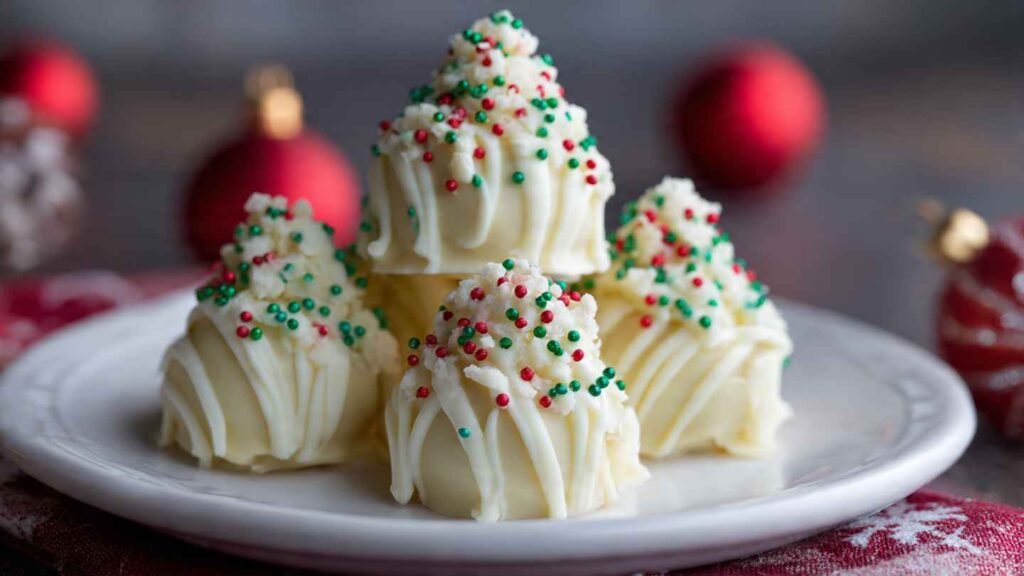
Festive Decoration Ideas
While the chocolate is still wet:
-
Add red and green sprinkles
-
Dust with crushed candy canes
-
Drizzle with contrasting chocolate
-
Add edible glitter for extra sparkle
Pro Tips for Perfect Truffles
Common Mistakes to Avoid
-
Skipping the chill time
-
Overheating chocolate (it will seize)
-
Rolling truffles too large
Texture and Flavor Tips
If the mixture feels too soft, chill it for 10 minutes before rolling. If it feels too firm, let it sit at room temperature briefly.
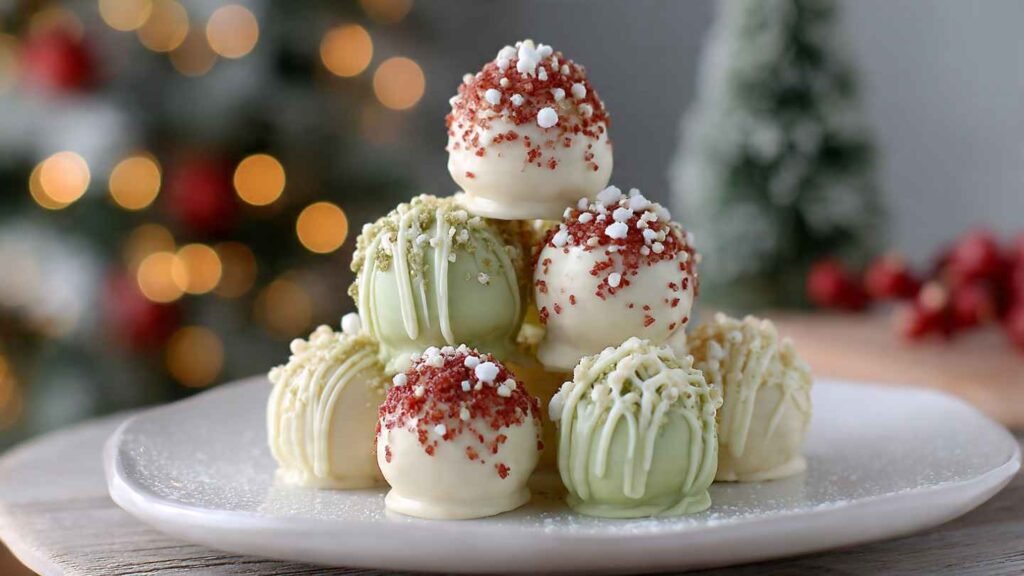
Flavor Variations to Try
White Chocolate Peppermint
Mix crushed peppermint into the coating or sprinkle on top for a refreshing holiday twist.
Dark Chocolate Lovers Version
Use dark chocolate to balance the sweetness and add depth.
Kid-Friendly Funfetti Style
Fold rainbow sprinkles into the truffle mixture for a playful look kids love.
Make-Ahead and Storage Tips
How Long They Last
Stored in an airtight container in the refrigerator, these truffles last up to 5 days.
Freezing Instructions
Freeze undecorated truffles for up to 2 months. Thaw overnight in the fridge, then coat and decorate.
Serving Ideas
Holiday Platters
Pair these truffles with sugar cookies, fudge, and brownies for a festive dessert board.
Edible Gift Packaging Ideas
Place truffles in mini cupcake liners and pack them in holiday tins or clear boxes tied with ribbon.
Why These Truffles Go Viral Every Christmas
Social Media Appeal
They’re colorful, nostalgic, and instantly recognizable—perfect for Pinterest pins and Instagram reels.
Nostalgia Meets Creativity
People love seeing familiar snacks transformed into something new. It sparks curiosity and clicks.
Conclusion
Little Debbie Christmas Tree Cakes Truffles are proof that the best holiday desserts don’t need to be complicated. They’re nostalgic, festive, and unbelievably easy—perfect for busy holiday schedules and sweet cravings alike. Whether you’re making them for a party, gifting them to friends, or just treating yourself, these no-bake truffles deliver pure Christmas joy in every bite.


Christmas Tree Cake Truffles | Easy No-Bake Recipe
Ingredients
- 10 Little Debbie Christmas Tree Cakes unwrapped
- 8 oz 225 g cream cheese, softened
- 12 oz 340 g white chocolate chips or candy melts
- 1/2 teaspoon vanilla extract optional
- 2 tablespoons red and green holiday sprinkles or sanding sugar
Instructions
- Place the Little Debbie Christmas Tree Cakes into a large mixing bowl. Using clean hands or a fork, crumble the cakes until fine, moist crumbs form with no large pieces.
- Add the softened cream cheese and vanilla extract. Mix thoroughly until a smooth, thick dough forms that is easy to shape.
- Take about 1 tablespoon of the mixture and roll into a smooth, round ball. Repeat for all mixture and place on a parchment-lined baking sheet.
- Refrigerate the tray for 30–40 minutes to ensure the truffles hold their shape during coating.
- Melt the white chocolate chips or candy melts in a microwave-safe bowl in 30-second intervals, stirring between each, until smooth.
- Dip each chilled truffle into the melted chocolate using a fork or dipping tool. Tap off excess chocolate and place back onto the parchment-lined tray.
- While the chocolate is still wet, sprinkle with red and green holiday sprinkles for a festive finish.
- Allow the truffles to set at room temperature or refrigerate for 15–20 minutes until the chocolate coating is firm.
- Serve immediately or store in an airtight container in the refrigerator for up to 7 days. For longer storage, freeze for up to 2 months.
Notes