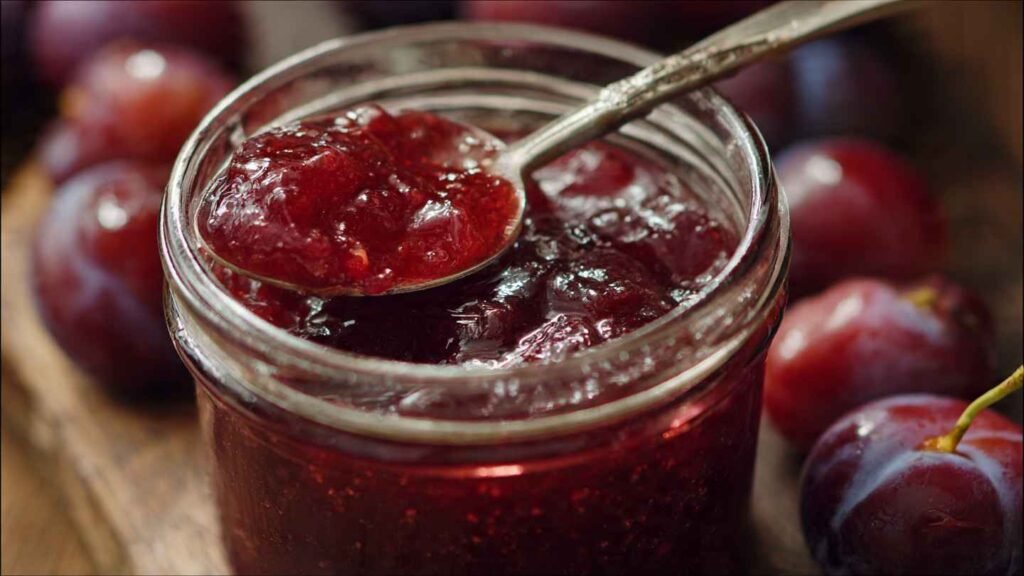
Mary Berry Plum Jam Recipe is a simple method for making classic homemade plum jam. It uses ripe plums, sugar, and careful cooking to create a rich, sweet spread. This recipe is known for being easy, reliable, and beginner-friendly.
If you want a jam that always turns out well, this recipe is a great choice. It gives you clear steps and consistent results every time. You will enjoy how quick and rewarding the process feels.
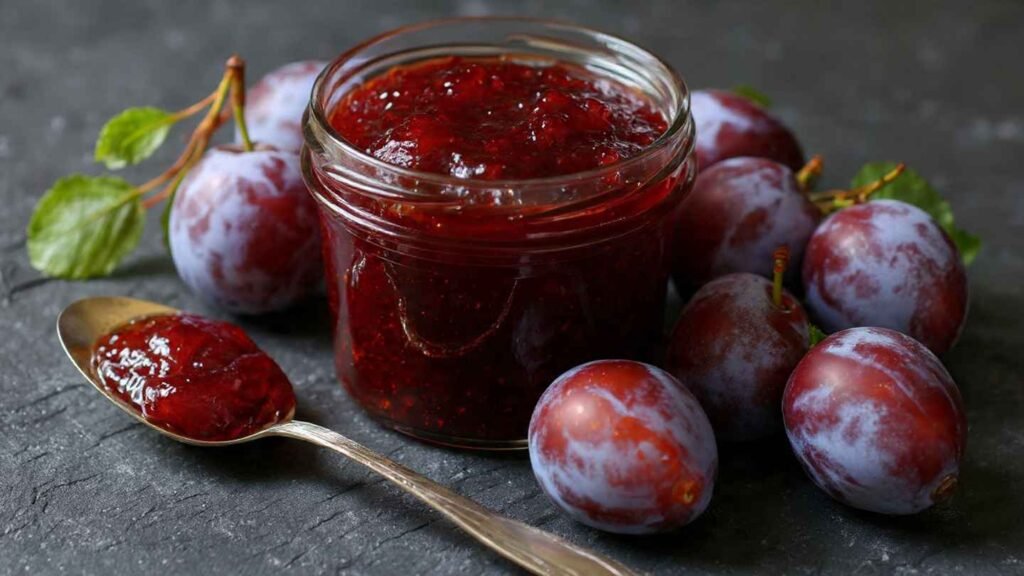
This jam has a deep plum flavor and a smooth, spreadable texture. It stores well and works in many desserts and breakfasts. Many home cooks trust this recipe because it is straightforward and dependable.

Why You’ll Love This Mary Berry Plum Jam
You’ll love this Mary Berry Plum Jam Recipe because it uses simple ingredients, cooks quickly, and gives you a rich jam with the perfect balance of sweetness and tartness. It spreads smoothly, tastes amazing on toast, and stores well for weeks. Plus, it feels good to make something homemade and comforting with very little effort.
Why This Plum Jam Recipe Is Special
Mary Berry is one of the most trusted names in home baking, and her jam recipes are celebrated for being both reliable and flavorful. What makes this plum jam recipe special is its simplicity and depth of flavor. With just plums, sugar, and lemon juice, you get a sweet-tart spread that feels both luxurious and comforting.
I first made plum jam after finding a batch in my grandmother’s pantry. The rich color, sweet aroma, and tart taste immediately brought back childhood memories. Following Mary Berry’s method ensures the jam sets perfectly every time, without the stress of complicated techniques or pectin packets. The balance of sweetness and tang is delightful, making it a versatile addition to breakfasts, desserts, and even savory dishes.
Ingredients You’ll Need
Making this jam is straightforward, and quality ingredients make all the difference. Here’s what you’ll need for a full batch:
Main Ingredients
-
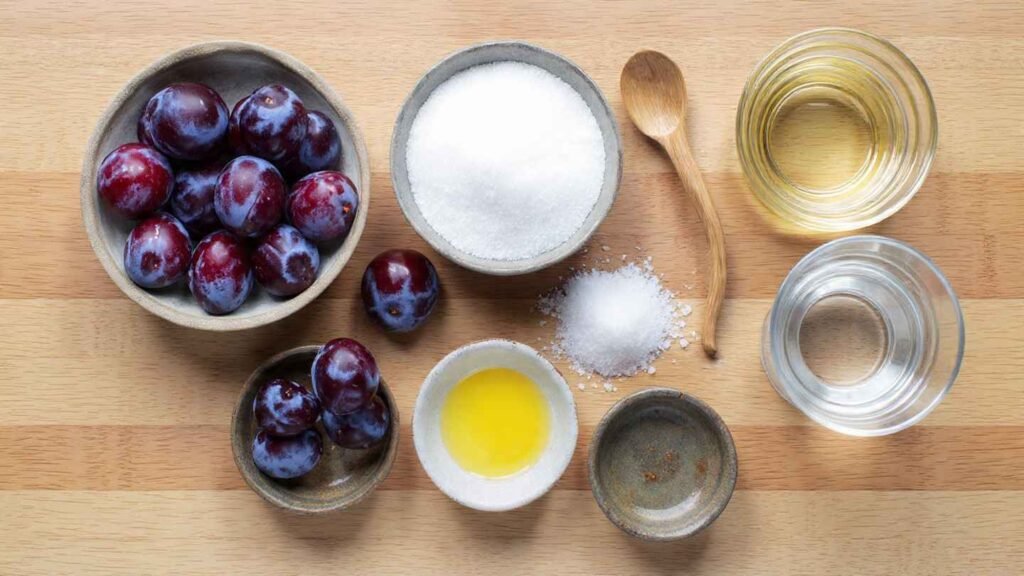
2½ lbs ripe plums, halved and pitted
Ripe plums give the jam a deep color and natural sweetness. -
4 cups granulated sugar
Provides sweetness and helps the jam set. -
2 tbsp lemon juice
Helps the jam gel and adds a bright flavor. -
½ cup water
Softens the plums during cooking.
Optional Flavor Enhancers
-
½ tsp vanilla extract – adds warmth and depth
-
1 cinnamon stick – perfect for a cozy, autumnal twist
Substitutions & Ingredient Prep
Ingredient Substitutions
-
Brown sugar can replace white sugar for a richer, caramel flavor.
-
Frozen plums work fine, but thaw them first and remove excess liquid.
-
Low-sugar variation: reduce sugar by up to 25%, but the jam will be softer.
Dietary Adjustments
-
This recipe is naturally vegan, gluten-free, and dairy-free.
-
For a keto-friendly version, use a keto sweetener, though it may not set as firmly.
Ingredient Prep Tips
-
Wash plums thoroughly to remove dirt and residues.
-
Remove pits and cut plums into halves or quarters.
-
For smoother jam, chop plums into smaller pieces.
-
Measure all ingredients before starting to make cooking easier.
Step-by-Step Instructions
Follow these steps for perfect Mary Berry Plum Jam Recipe results:
Step 1 – Prep the Plums
Wash and halve the plums. Remove the pits. Place them in a large, heavy-bottomed pot with ½ cup water. The heavy pot ensures even cooking and prevents burning.
Step 2 – Cook the Fruit
Cook plums over medium heat for 10–15 minutes until they soften. Stir occasionally to prevent sticking. You’ll notice the plums releasing their juice and starting to break down into a chunky mixture.
Step 3 – Add Sugar and Lemon Juice
Add sugar and lemon juice to the softened plums. Stir until the sugar completely dissolves. The mixture should look glossy and begin to thicken slightly.
Step 4 – Boil and Thicken
Bring the jam to a full boil. Reduce heat slightly and continue to cook for 20–30 minutes, stirring frequently. The jam will gradually thicken and develop a rich, deep color.
Pro Tip: Slow cooking preserves the flavor and prevents burning. Do not rush this stage.
Step 5 – Test the Set
Use the cold plate method: drop a small spoonful of hot jam onto a chilled plate. Wait 10 seconds and push gently. If it wrinkles, it’s ready. If not, cook for a few more minutes and test again.
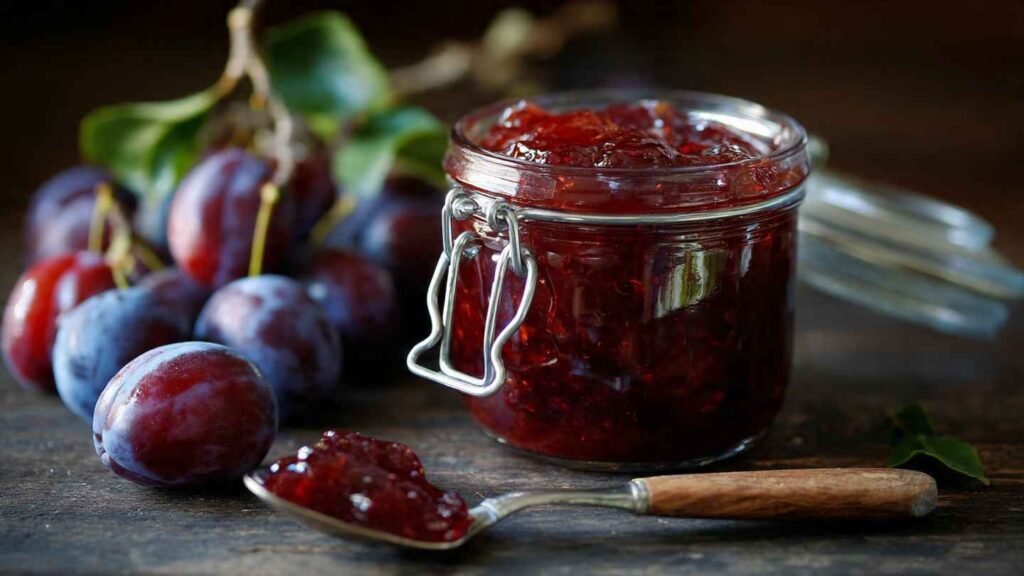
Step 6 – Finish and Jar
Turn off the heat. Remove the cinnamon stick if used. Spoon the hot jam into sterilized jars and seal tightly. Let the jam cool completely before storing.
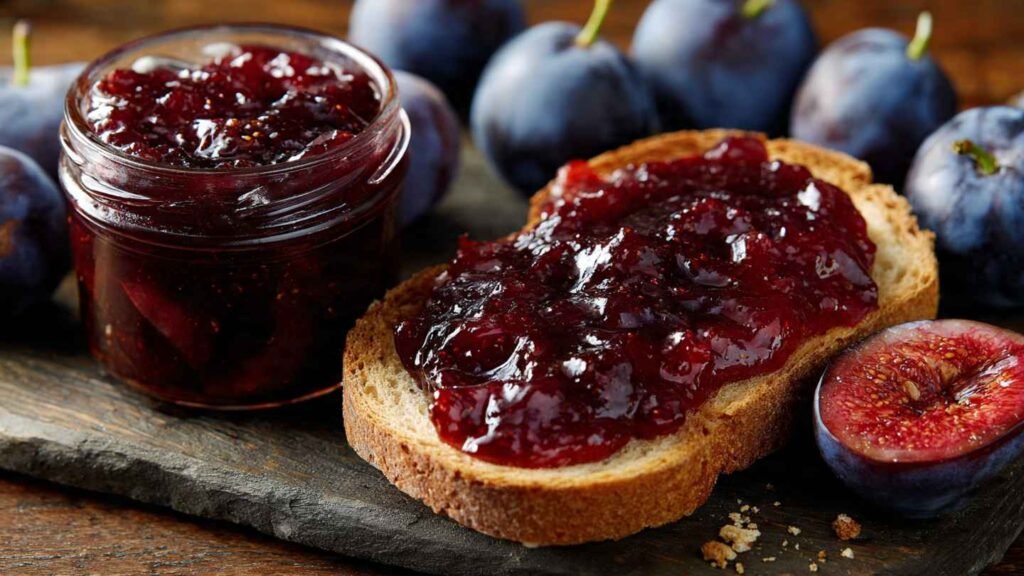
Serving Tips:
-
Spread on toast, scones, or bagels
-
Stir into yogurt or oatmeal
-
Use as a filling for cakes, tarts, or pastries
-
Serve with cheese or charcuterie boards
Health Benefits of Homemade Plum Jam
While indulgent, homemade plum jam retains some nutritional benefits:
-
Rich in vitamin C and antioxidants
-
Contains dietary fiber from the fruit
-
Free from artificial preservatives found in commercial jams
Homemade jam is a healthier choice, giving you control over sugar levels and flavor additives.
Nutritional Information (Per 100g)
Calories: 250–270 kcal
Carbohydrates: 65–70 g
Sugar: 60–68 g
Fat: 0 g
Protein: 0.3–0.5 g
Fiber: 1–2 g
Sodium: 2–4 mg
Why This Method Works So Well
-
Balanced sweetness: Sugar complements the natural tartness of plums.
-
Lemon juice: Helps the jam set and enhances flavor.
-
Slow cooking: Builds flavor and ensures the jam thickens evenly.
-
Beginner-friendly: No complicated steps or extra ingredients needed.
Following Mary Berry’s method ensures reliable, delicious results every time.
Tips for Perfect Plum Jam
-
Use ripe plums for the best natural sweetness and color.
-
Stir frequently to avoid burning the jam at the bottom.
-
Don’t skip lemon juice, it’s essential for setting.
-
Sterilize jars before filling for longer shelf life.
-
Optional spices like cinnamon or vanilla can add warmth and depth.
-
Patience is key—let the jam thicken slowly for perfect texture.
Storage, Freezing & Shelf Life
-
Room temperature: Properly canned, jam lasts up to 1 year.
-
Refrigerator: In unsealed jars, plum jam keeps for 3–4 weeks.
-
Freezer: Store in airtight containers for up to 6 months. Thaw overnight in the fridge before using.
Ways to Use Your Mary Berry Plum Jam
-
Spread on toast, muffins, or bagels
-
Swirl into oatmeal or yogurt
-
Use as a filling for cakes, tarts, or cookies
-
Serve with cheese boards for a sweet-savory treat
-
Drizzle over ice cream for a fruity topping
Troubleshooting Common Jam Issues
-
Jam too runny: Cook a few more minutes until thicker.
-
Jam too thick: Add 1–2 tablespoons of hot water to loosen.
-
Too sweet: Next time, add a bit more lemon juice.
-
Burning/sticking: Reduce heat and stir frequently.
Final Thoughts
This Mary Berry Plum Jam Recipe is a timeless, simple, and satisfying way to enjoy fresh plums. It’s perfect for beginners and experienced cooks alike. With just a few ingredients and easy steps, you can create a homemade jam that tastes like it came from a cozy countryside kitchen.
Try it on toast, in desserts, or as a gift for friends and family. For more fruity inspiration, explore my other homemade recipes or fruit-based desserts—you might just discover your next favorite breakfast treat!
FAQS: