
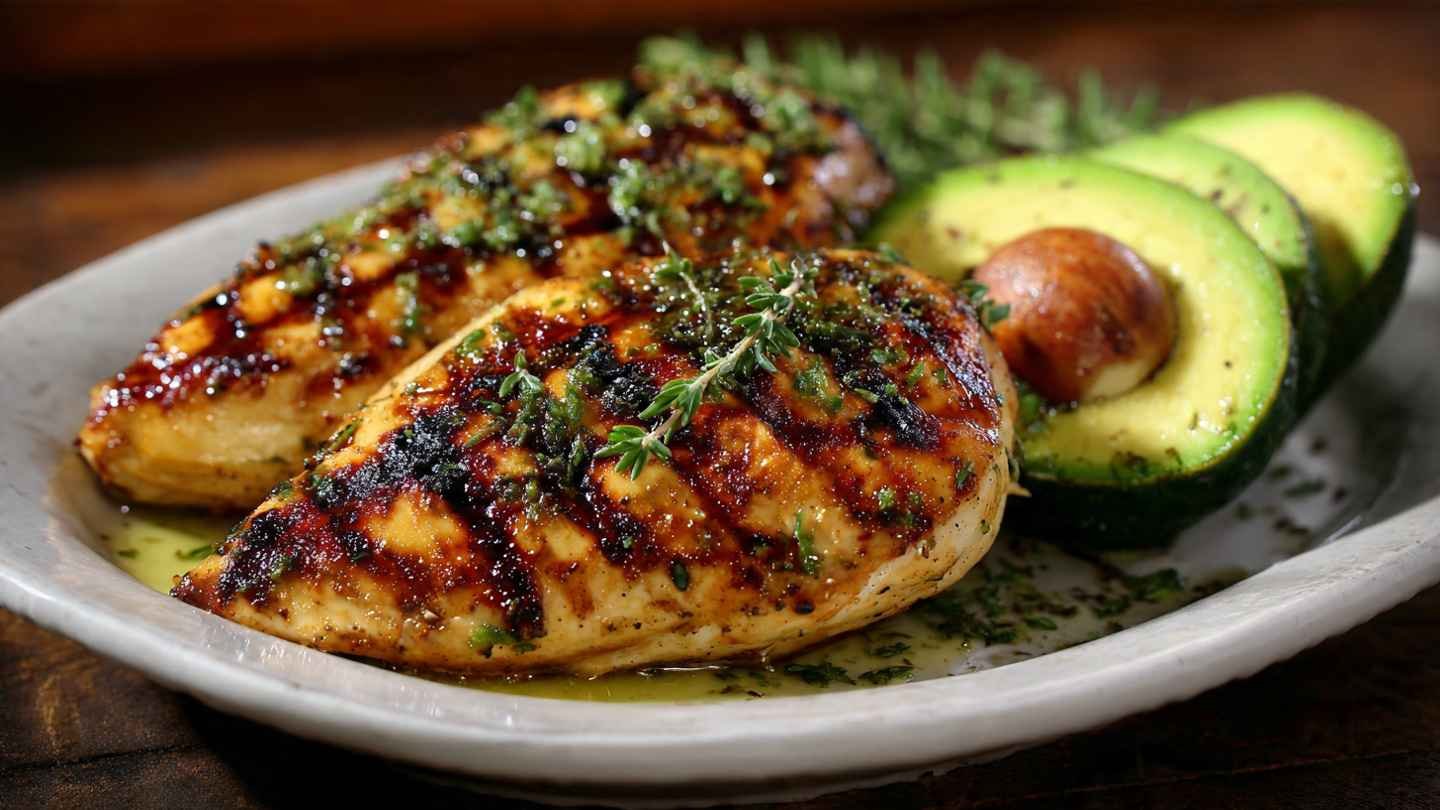
When I first tasted Grilled California Avocado Chicken, it instantly felt like summer on a plate. This dish is inspired by the fresh and vibrant flavors of California cuisine—simple, healthy, and full of natural goodness. The combination of smoky grilled chicken, creamy avocado, and fresh toppings creates a meal that feels both light and satisfying.
What makes this recipe special is how easily it comes together while still looking like a restaurant-quality dish. It’s perfect for family dinners, BBQ nights, or even meal prep. Trust me, once you try it, you’ll want to make it again and again.
Recipe Overview
- Prep Time: 15 minutes
- Cooking Time: 15 minutes
- Total Time: 30 minutes
- Difficulty Level: Easy
- Servings: 4 servings
Ingredients
Here’s everything you need to make this delicious dish:
For the Chicken:
- 2 large chicken breasts (boneless, skinless)
- 2 tablespoons olive oil
- 1 teaspoon garlic powder
- 1 teaspoon paprika
- ½ teaspoon salt
- ½ teaspoon black pepper
- ½ teaspoon chili flakes (optional)
For the Toppings:
- 1 large ripe avocado (sliced)
- 1 cup cherry tomatoes (halved)
- ½ red onion (thinly sliced)
- ½ cup shredded mozzarella or Monterey Jack cheese
- 1 tablespoon fresh lime juice
- Fresh cilantro (optional, for garnish)
Substitutions & Notes:
- Swap chicken breasts with chicken thighs for extra juiciness
- Use feta cheese for a tangy twist
- Make sure your avocado is ripe but firm for best texture
Step-by-Step Instructions
Step 1: Prepare the Chicken Properly
I always start by placing the chicken breasts on a cutting board and gently pounding them to an even thickness. This step is very important because it helps the chicken cook evenly and stay juicy. If one part is thick and the other is thin, it may dry out.
Next, I pat the chicken dry using a paper towel. This helps the seasoning stick better. Then I rub olive oil all over the chicken so it stays moist during grilling.
Now, I mix garlic powder, paprika, salt, black pepper, and chili flakes in a small bowl. I sprinkle this seasoning evenly on both sides of the chicken and gently press it in so it sticks well.
Pro Tip: If you have extra time, let the chicken rest with seasoning for 20–30 minutes. This will make the flavor deeper and more delicious.
Step 2: Preheat the Grill
I preheat my grill or grill pan to medium-high heat. A hot grill is the secret to getting those beautiful grill marks and locking in juices.
If you’re using a grill pan, lightly grease it with a little oil so the chicken doesn’t stick.
Step 3: Grill the Chicken Perfectly
Once the grill is hot, I place the chicken on it carefully. I let it cook for about 6–7 minutes on one side without touching it. This helps create a nice golden crust.
Then I flip the chicken and cook the other side for another 6–7 minutes.
Important Tip: Avoid flipping the chicken again and again. Let it cook properly on each side for the best flavor and texture.
You’ll know it’s done when the inside is no longer pink and juices run clear.
Step 4: Melt the Cheese
In the last 2 minutes of cooking, I sprinkle shredded cheese on top of each chicken piece. Then I close the grill lid (or cover the pan) so the cheese melts nicely.
This step adds a creamy, rich layer that makes the dish even more delicious.
Step 5: Prepare the Fresh Topping
While the chicken is cooking, I prepare the fresh topping. In a bowl, I mix cherry tomatoes, thinly sliced red onions, lime juice, and a small pinch of salt.
This mixture adds freshness, a little tanginess, and balances the richness of the chicken and cheese.
Next, I slice the avocado carefully. I always do this last so it stays fresh and green.
Step 6: Assemble the Dish
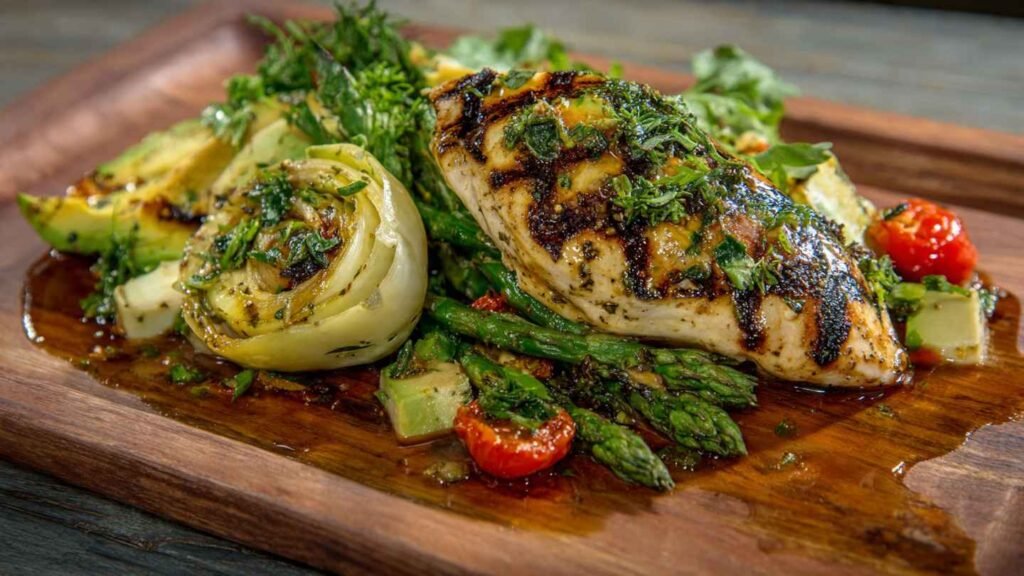
Now comes the best part! I place the hot grilled chicken on a plate, then top it with fresh avocado slices and the tomato-onion mixture.
If I want extra flavor, I sprinkle fresh cilantro on top. It adds color and a nice fresh taste.
Step 7: Serve Immediately
I always serve this dish while it’s warm. The combination of hot, juicy chicken and cool, creamy avocado is just perfect.
You can serve it with rice, salad, or even eat it on its own for a healthy meal.
Expert Tips & Variations
- Marinate for more flavor: Let the chicken sit in seasoning for 30 minutes before grilling
- Make it spicy: Add jalapeños or hot sauce
- Low-carb option: Serve with lettuce wraps instead of rice
- Meal prep idea: Store grilled chicken separately and add avocado fresh later
Serving Suggestions:
I love serving this with brown rice, quinoa, or a simple green salad. It also pairs well with grilled vegetables.
Nutritional Information (Per Serving)
- Calories: ~420 kcal
- Protein: 38g
- Carbohydrates: 10g
- Fat: 25g
Dietary Labels:
- High-protein
- Gluten-free
- Low-carb friendly
Storage & Reheating
Storage:
- Store leftovers in an airtight container in the fridge
- Best consumed within 2–3 days
Reheating:
- Reheat chicken in a pan or microwave until warm
- Add fresh avocado after reheating (do not heat avocado